Showing posts with label goodwill. Show all posts

Thursday, April 7, 2011

Good Riddance, wood paneling!

UPDATE: See new pictures below!

I'm just going to say it, and not worry about who I may insult--

I hate wood paneling. It is the devil of any wall space, and I sure hope that all of the wood paneling left in the world is on it's way out.


Maybe I should stress that I am referring to the traditional wood paneling that most people think of in an (unfortunate) discussion concerning wood paneling. If you have the urge to create something like the masterpiece pictured below, by all means I hope you do.


 Anyway, I've found myself living in a great apartment that could qualify as a mansion in the world of city one-bedrooms. At least in respect to the price...

But the wood paneling was about to make me give up my newly acquired 450 additional square feet, and had really got me down. I was starting to feel like I was living in a 70's "adult film" cave or something... (the carpet probably doesn't help).

I decided I needed to do something about this.

I happened to stumble across a temporary wall-covering solution using fabric and liquid laundry starch--have you heard of this??

(See some more examples here or here)

I've seen this method all over online, and now I feel obligated to share this super easy fix to wood paneling (or any wall) in hopes that I will never have to see it again!

First, you'll need a few items:

1 box of cornstarch
water
enough fabric to cover your wall
box cutter/exacto knife

(see, it's easy already!)

The idea is to starch fabric to the wall. I know, I know, it sounds like you'll end up with sloppy, blotchy fabric falling off the wall in your living room, but that won't happen. I promise. You will be AMAZED out how professional and permanent this project looks.


Before you get started, you'll want to make a batch of liquid starch. You can purchase it from the store, but you will use a lot--and you can make the same thing for the price of a box of corn starch.
I purchased one bottle so I would have the spray bottle, and then refilled it with my own mixture. I also wanted to be able to compare the two--and the homemade starch actually worked better.
I doubled the following "recipe" for a 7' x 9' wall.


Stir 1/4 cup corn starch into 1/2 cup cold water. Then pour in 4 cups of boiling water and mix it up. 

Let this cool before using it.


You'll also want to find a fabric to cover your wall. Something without a whole lot of texture and weight will work best. 

Amy Butler Design

Amy Butler Design


Amy Butler Design


 Yes, it takes a lot of fabric. Yes, that could be very expensive. Or, you could do what I did, and go to Goodwill for a Queen or King size bed sheet. I bought a King (brand new!, Ralph Lauren) striped sheet for $3.99. I also bought a purplish/gray solid Queen sheet for $3.99.

Side note: I had some curtain fabric from Goodwill already. It was a bit heavy, and textured (with nobby vertical stripes). Here was my first thought:


"Oh!! I'll make really cool stripes on the wall with this curtain fabric since I don't want to wait to get the right fabric!"

(excuse the cell phone pictures)
...It could have worked with a lighter weight fabric, but after doing a few stripes I decided to go full coverage with a lighter fabric. The only part of this project that you could possibly mess up would be trimming the edges after everything has dried, so be careful (and take your time if you're going to do stripes that need a lot of trimming)! I messed them up, and the thicker fabric was pretty hard to cut through.


There would have been a bigger stripe in between each of the further-spaced stripes--I was doing every other piece of paneling.


So back to the how-to:

Put the starch that you made (and let cool) into a big bowl.
Grab some clean sponges.
Soak the wall in liquid starch (lay down paper/old sheets/painter's cloth to protect your carpet).

I ended up tacking up the top corners of the fabric, then lifting it up to soak the wall underneath. As soon as most of the fabric gets wet it will easily stay up on it's own, but I was flying solo and needed a hand. Oh! And make sure to leave about 2 inches of extra fabric around all of the edges so you can use your exacto knife to cut clean edges at the end.

Once the wall is soaked, press the fabric onto the wall. It will probably have pretty much done this on its own, but just to be sure.

Then, start loading on the liquid starch. You want the fabric to be soaked.--I've found the most efficient way to do this is to spray the starch on with a spray bottle, then smooth it around with your hand or a sponge. You'll want to work from top to bottom, and smooth out any bubbles or wrinkles as you go. Take your time on this part, but also remember that you can always peel a piece back up and re-starch it with no problems. The best way to help you visualize how this all ends up working is to remind you of what your wet t-shirt looked like when it was soaked and suctioned to your belly after your brother pushed you in the swimming pool fully clothed. Your belly is the wall, and the fabric acts exactly the way that t-shirt did.

Did I tell you I peeled off the stripes and went with my solid queen sheet from Goodwill?

It's kind of the same color as my favorite nail polish, "Commander in Chic" by Sally Hansen. Just a smidge darker, with a bit more gray.


Here's a horrible and unclear picture of how it turned out. I swear I will post a better one in it's place soon!


NEW! and better pictures:


wooooohoooooo! I love it! and it was so easy and fun. Doesn't it look just like wall paper?

Once it dries, simply trim the edges. If an edge starts to peel up a bit, just spray a little bit of the liquid starch and re-smudge it down.

When you move, or if you decide that you want to change your wall with the seasons (I never have the dedication to change decorations with the seasons), just peel the fabric off, and wash the wall down with a little bit of warm water...then start all over!

voilĂ !

Tuesday, July 27, 2010

goodwill wall art and my new dresser!

I originally picked these up for the simple frames and matting, and then realized that the colors in the photos are perfect too. Every time I look at these I feel the urge to go sift through the piles of leaning frames in hopes of finding something equally as wonderful. I don't think I'll ever buy frames or framed pictures ever again, there are just too many unique ones available for next to nothing!


$1.99/ea. The colors are perfect!


___________________________________________________________________

My new craigslist dresser! The drawers don't pull perfectly, but it serves it's purpose and it's pretty small, which is what I needed. The girl I bought it from even dropped it off! I thought about repainting or staining it, but I really just want to leave it the way it is.


I may be replacing the knobs with either of these:


I think it's perfect!

Monday, July 26, 2010

Goodwill Duvet and Blanket

Finding linens at Goodwill is one of those silly small things that makes me unbelievably happy. I am a little weary of towels and pillow cases, but other than that there's nothing that a good wash can't make brand new! Especially in the case of curtains, blankets (picnic and beach blankets, too!), place mats, etc.

Here is one of my favorite linen finds, a new duvet (un-stuffed, it's summer!):


The duvet cover cost me $6.99, as did the blanket (pictured below). Nobody seems to think this blanket is quite as marvelous as I do, but it seems pretty thriftpologie to me! I LOVE it. The color is perfect, too. I call this color "old dirty pink". Josh insists that it is peach-which it absolutely is NOT. Just to clear that up. In my head, "old dirty pink" has a hint of a peach-ish/orangish/not-easter-eggish (thank goodness). That is the best I can describe it. Any suggestions? Do you know the color I'm talking about?


And if you don't like the pink color, or if you just need an additional bit of awesomeness...it's reversible!!


this picture is the truest in color  (FYI)

What do you think about linens from Goodwill? And what do you think about these in particular? I love them!


Thursday, April 29, 2010

I should've thought of this months ago!

So I have these sailboat paintings I bought months ago, $5 each. I love the colors in them, and the old, rustic man-style (kind of)...but I feel like they make my apartment dark, and a little too 70's porn-office or something.  I guess I never really thought there was a way to make them look bright, but then I had an epiphany! What do you think??
BEFORE

(my kitchen doesn't look like this anymore)


(it looks more like this)


the frames, up close. This is the picture that is the most "true" as far as color.


(paintings up close)

ta da! (AFTER)


I understand that these paintings would probably never find a home in most people's... homes. But I really do love them, and I think they look much less depressing now. In fact, I would almost call them pretty.


What do you think? Better?

Friday, April 23, 2010

all in a day's work!


So today, I woke up incredibly late, stumbled out of bed in the groggiest fog I've experienced in months and fought through a long day of work. Actually, it was quite a short day. I was a bit late, left a bit early, and I'll probably pay for it on Monday. The second I walked in my door, I had a sudden splurge of energy (and 2 cups of coffee) and got to work!
Let's hop to it so I can still go out and enjoy a beer with the ladies.

First, the small projects:

____________________________________________________________________

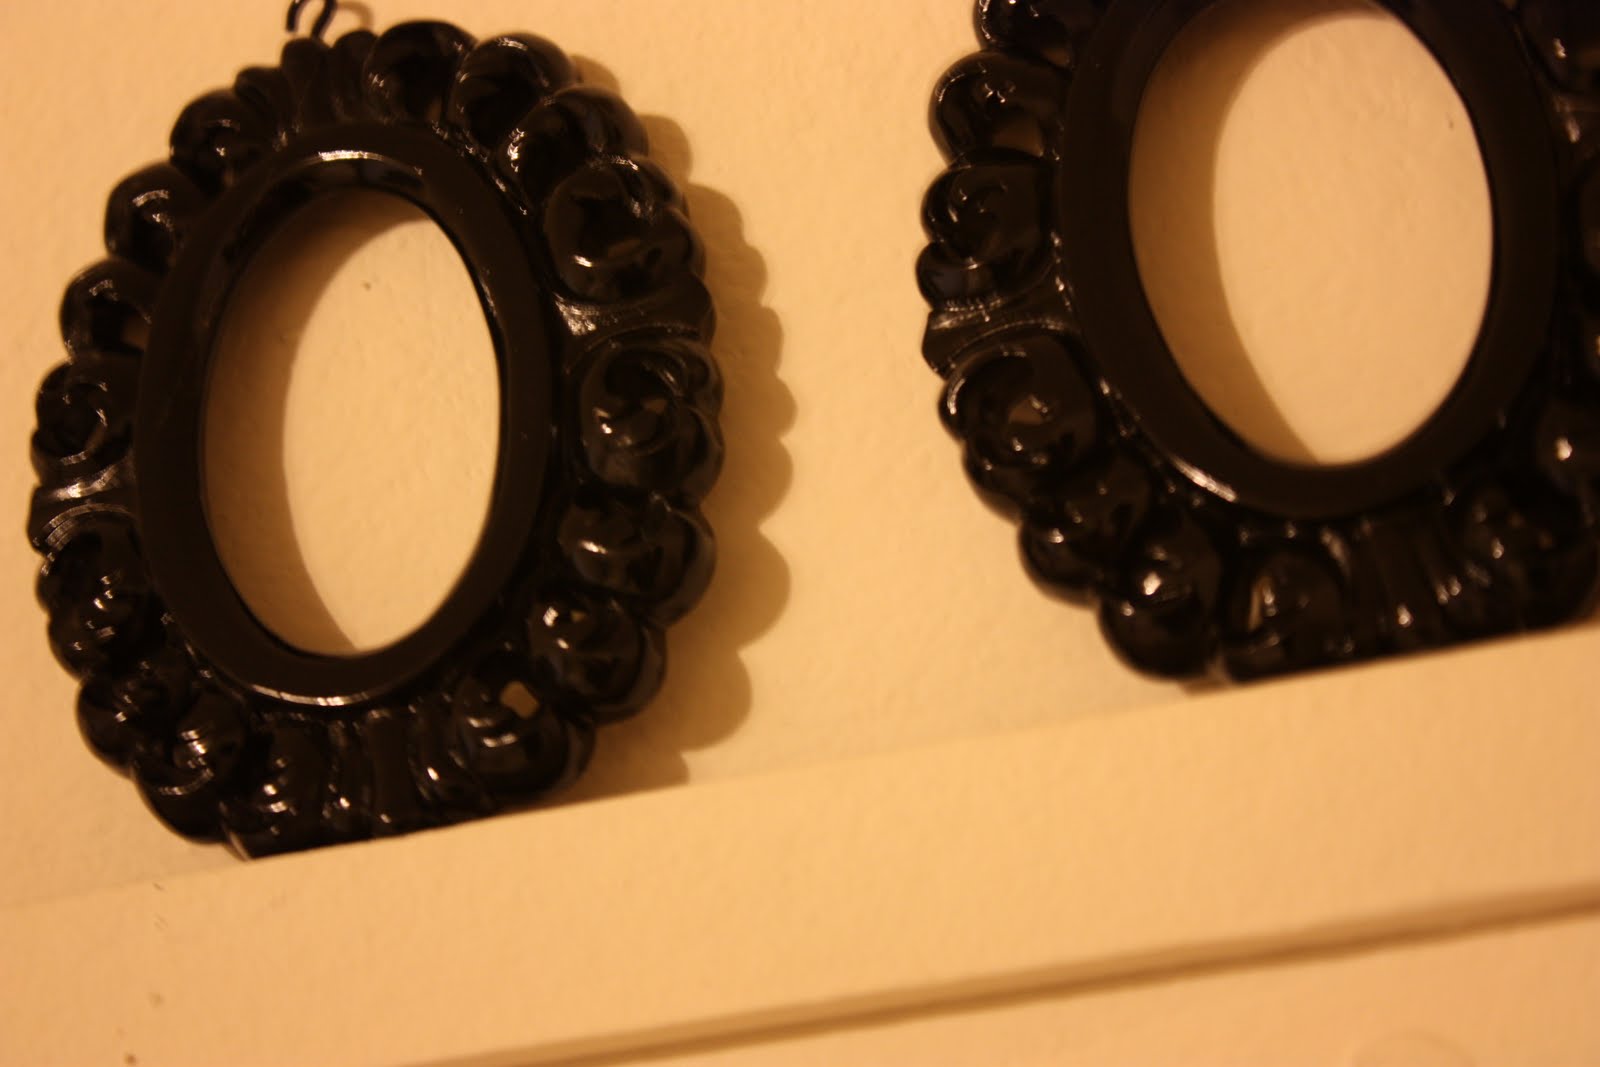
frames (goodwill, $1.99/ea)

BEFORE


AFTER...
a little wipe down and some glossy spray paint:


____________________________________________________________________

frame (goodwill, $2.99)

BEFORE


AFTER...
satin off-white spray paint:


____________________________________________________________________

lampshade (goodwill, $6.99)

I'm not sure what I think of the finished product on this one. I like it, but I don't LOVE it. I also decided to go ahead and spray paint this shade, even though I read several articles warning me not to. Sure, fabric paint would have been smart! But considering the lengthy (car-less) jaunt that would have been required to obtain said fabric paint, I decided to go ahead with the spray paint and not worry too much about the loss had it been ruined. I suppose it worked out better than anticipated, although I'm not sure that I will actually be turning the lamp on unless I am the only one in the room to see the nice patchy light shining through spray paint circles.
BEFORE


I covered the vertical ruffly-bits with some foil and tape (yes, regular present-wrapping tape):


AFTER


____________________________________________________________________

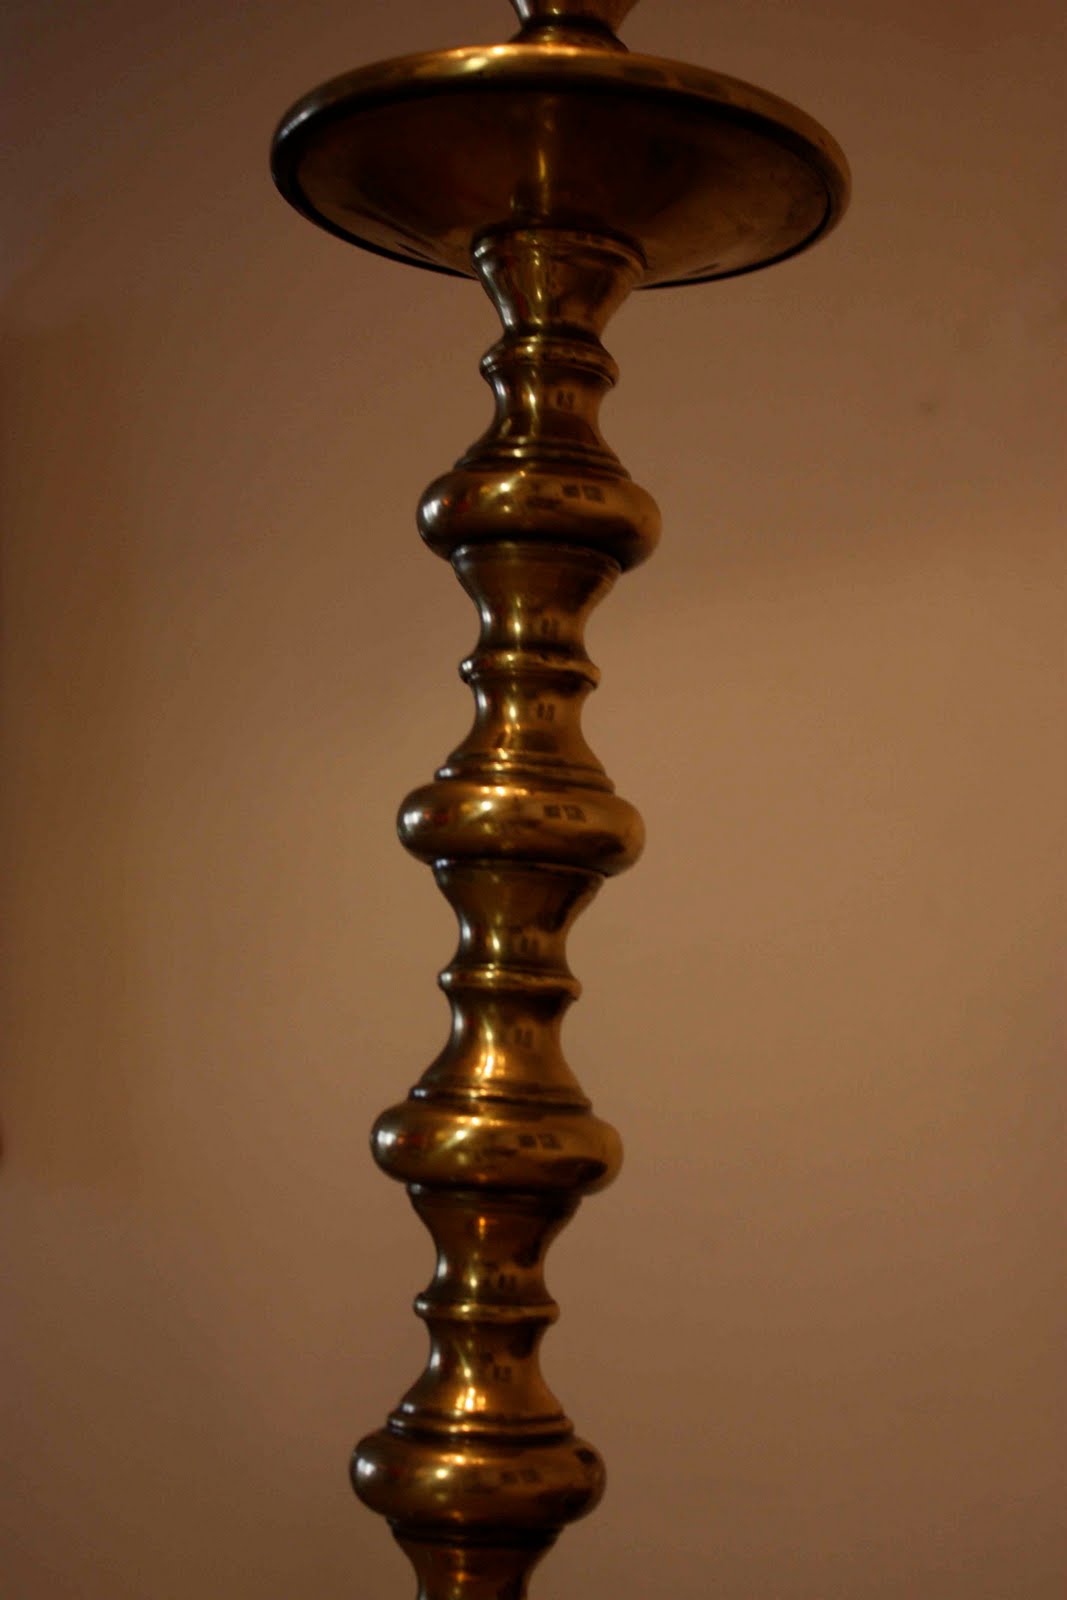
brass candlesticks (goodwill, $.99-$1.99/ea)


I adore these. So simple, so elegant, and now so shiny and classic.

BEFORE


AFTER (ta da!)


____________________________________________________________________

stool
I already had this, but the top was getting pretty scratched so I gave it a quick rub down with some fine sand paper and re-painted it:


____________________________________________________________________

and now, for my favorite!!

brass lamp (goodwill, $14.99)

I knew this lamp was going to be amazing, but it was just too easy! Even if it didn't look quite as wonderful, I would still be proud of how simple this was. Also, in case you don't know, I have a lamp fetish (and a thing for clocks, too).


BEFORE


I roughed it up a bit before painting it:


and, viola!

AFTER


____________________________________________________________________
so, what do you think? A productive day, right?
ps Josh loves having all these projects laying around. (Are you crafting again, heute?)

so about those drinks with the girls.. I'm off!